Trendy Prince Cut Baby Frock | Easy Method for Cutting & Stitching
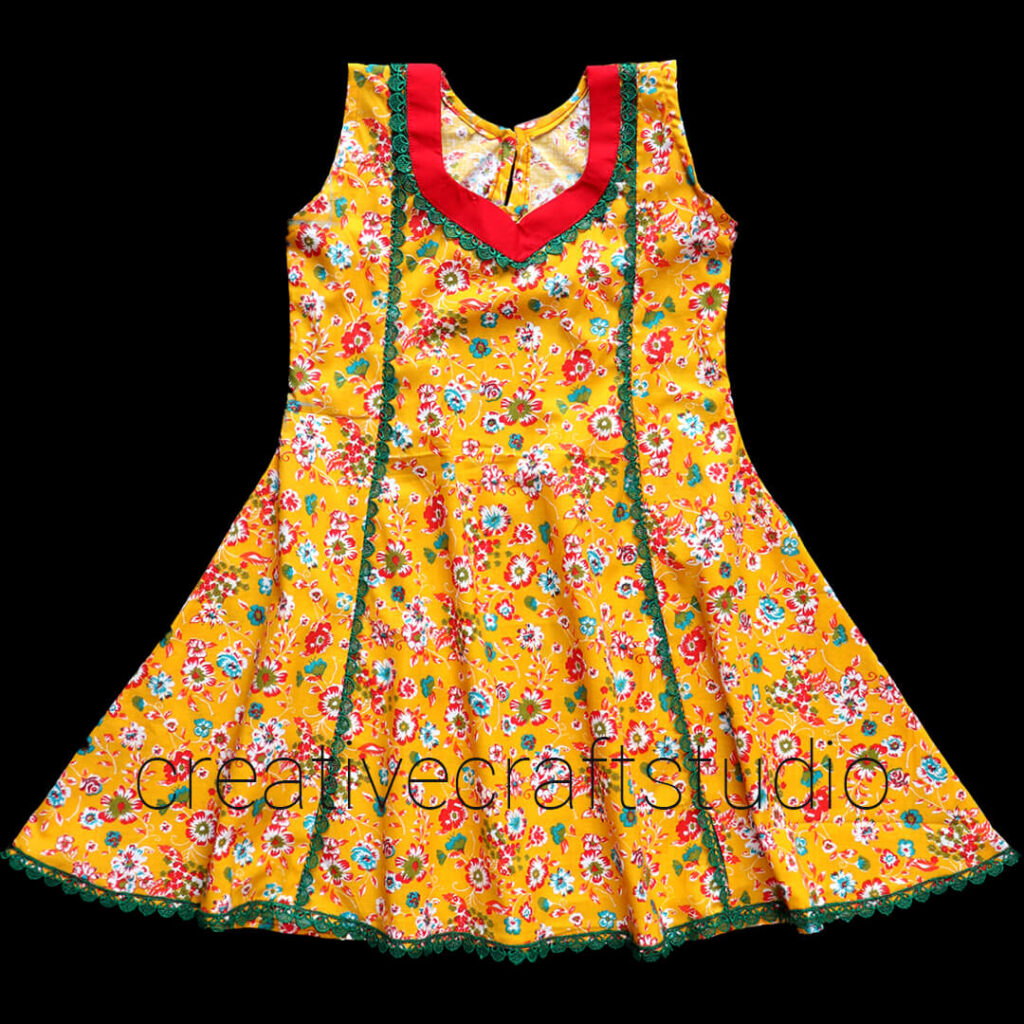
In today’s tutorial, we’ll show you how to create this stylish prince cut baby frock for 4-5 year baby girl – a design known for its elegant fitting and princess-like flare.
What makes this frock special?
✔ Prince Cut Panels – Ensures a sleek and tailored look
✔ Full Flare Design – Adds volume and elegance
✔ Contrast Neckline & Lace – Enhances the beauty of the dress
This dress is perfect for parties, special occasions, or daily wear. Follow along for the complete step-by-step cutting and stitching tutorial!
Step-by-Step Guide to Cutting & Stitching
✂ Cutting Steps
✅ Step 1: Fold the fabric and mark the basic bodice measurements (front & back).
✅ Step 2: Draw the prince cut panels on the bodice front and separate them.
✅ Step 3: Cut the flare portion of the frock, ensuring even width for a full look.
✅ Step 4: Prepare the contrast neckline and lace for decorative finishing.
✅ Step 5: Mark and cut the back opening for easy wearability.
🧵 Stitching Steps
✅ Step 1: Stitch the prince cut panels together for the front bodice.
✅ Step 2: Attach the back bodice and finish the neckline with contrast detailing.
✅ Step 3: Join the flare portion to the bodice, ensuring smooth and neat finishing.
✅ Step 4: Secure the armholes and hemline with lace or bias tape.
✅ Step 5: Attach the back button/loop and give the dress a final press for a polished look.
Materials Required
✔ Printed or solid cotton fabric 1.5 meter
✔ Lace or decorative trim
✔ Sewing machine & thread
✔ Scissors & measuring tape
✔ Tailor’s chalk for marking
✔ Button & loop for back closure